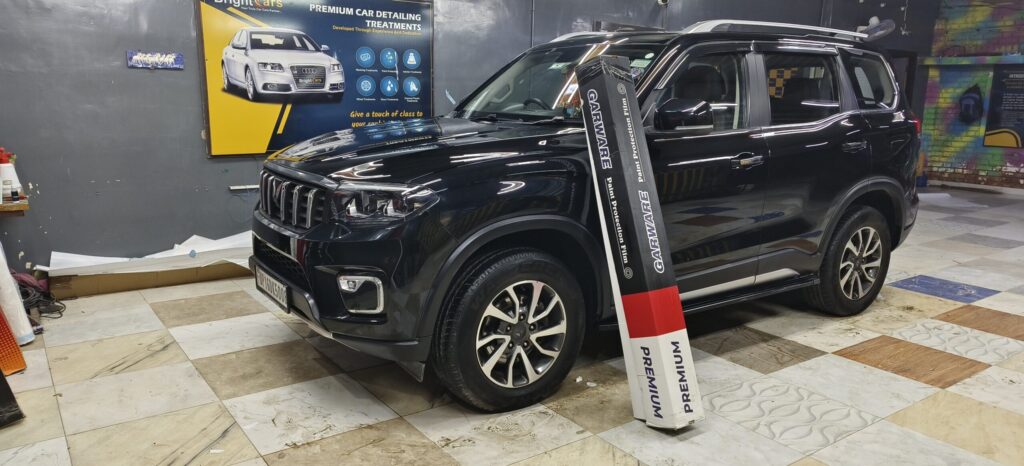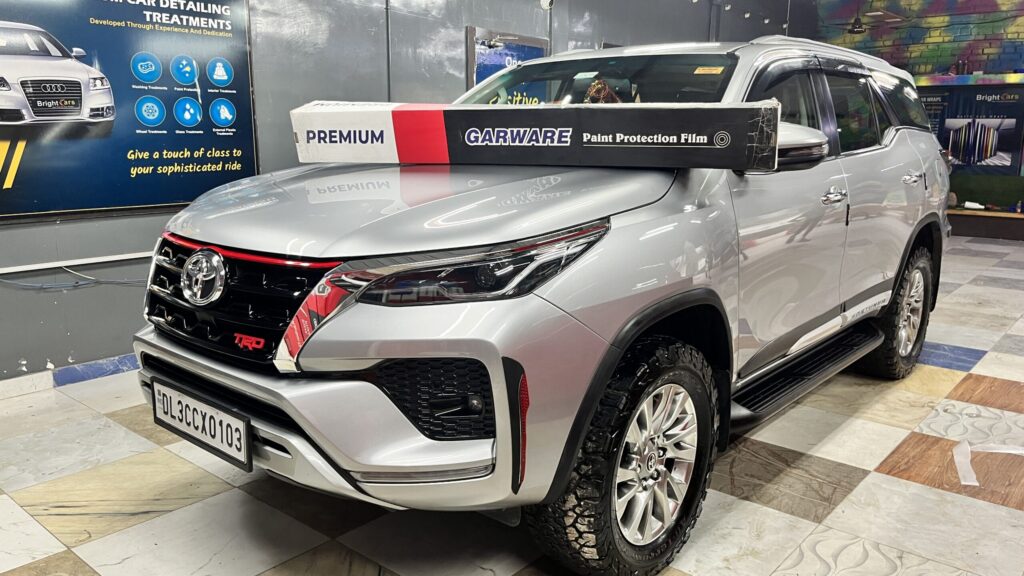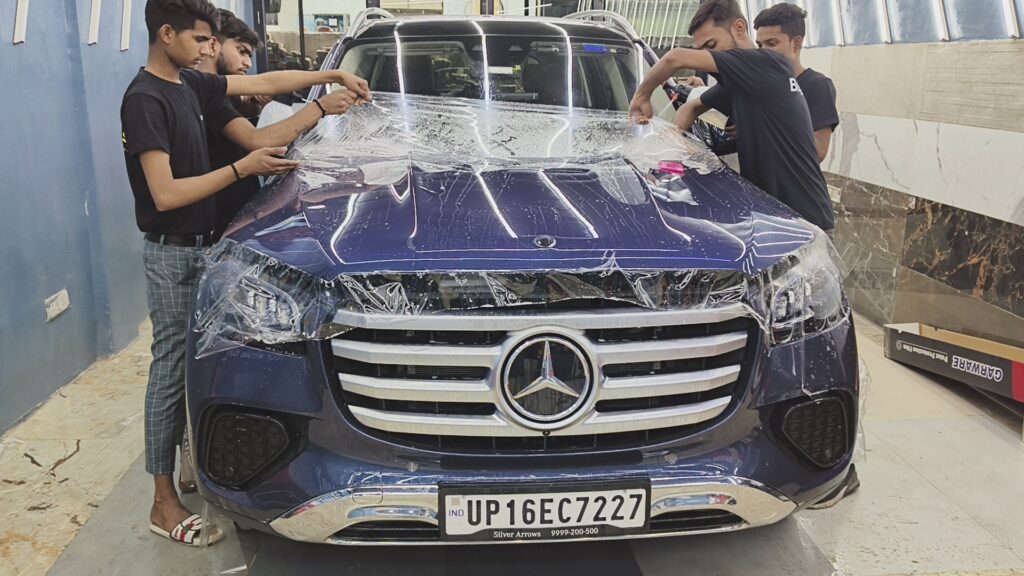


If you’ve recently bought a new car or planning to protect your existing one, you’ve probably heard of PPF — Installing Paint Protection Film (PPF) is one of the best ways to protect your car’s paint from scratches, UV fading, stone chips, and daily wear. While many car owners prefer professional installation, understanding the full process helps you know what to expect — and why proper installation matters.
Below is a simple, clear, and human-friendly guide explaining how PPF is installed on a car, whether you are doing it yourself or getting it done by experts.
How to Install Paint Protection Film on a Car?
In this complete guide, we’ll explain the entire PPF installation process, tools used, benefits, and professional tips — in simple, easy-to-understand language.
PPF (Paint Protection Film) is a transparent, flexible polyurethane film applied on the car’s painted surface
We are offering the best quality and Premium films like Garware, 3M come with self-healing technology, so small scratches automatically disappear with heat or sunlight.
How to Install Paint Protection Film PPF, Follow these Step:
Step 1: Deep Washing & Decontamination

Clean the area where you will apply the PPF thoroughly to remove any dirt or debris. Before applying Paint Protection Film, the car’s surface must be prepared with extreme precision. Any dust, swirl mark, contaminant, or oil residue left on the paint can affect the adhesion and finish of the PPF. Proper surface preparation ensures a smooth, bubble-free, long-lasting installation.
A clean surface ensures proper film adhesion.
Prepare the Surface
✔ Foam wash – The car is cleaned using: High-foaming shampoo, Microfiber mitt, Pressure wash,
✔ Iron remover – Removes brake dust & metallic particles ✔ Tar bar treatment – Removes stuck tar, grease, and tough road contaminants
✔ Degreasing – A solution of Isopropyl Alcohol (IPA) is used to remove: Oily residues, Wax, Silicone, Polish leftovers. This ensures the surface is chemically clean for the PPF adhesive
✔ Clay bar treatment – A clay bar is glided over the car’s paint using a lubricant. Removes embedded particles, Smoothens the surface, Prepares paint for PPF adhesion
This removes microscopic contaminants that can affect the finish.
Step 2: Paint Inspection & Correction
Essential Equipment for PPF Installation- Installing Paint Protection Film (PPF) requires precision, skill, and the right set of tools. Without proper tools, the film can develop bubbles, creases, poor adhesion, or peeling edges.
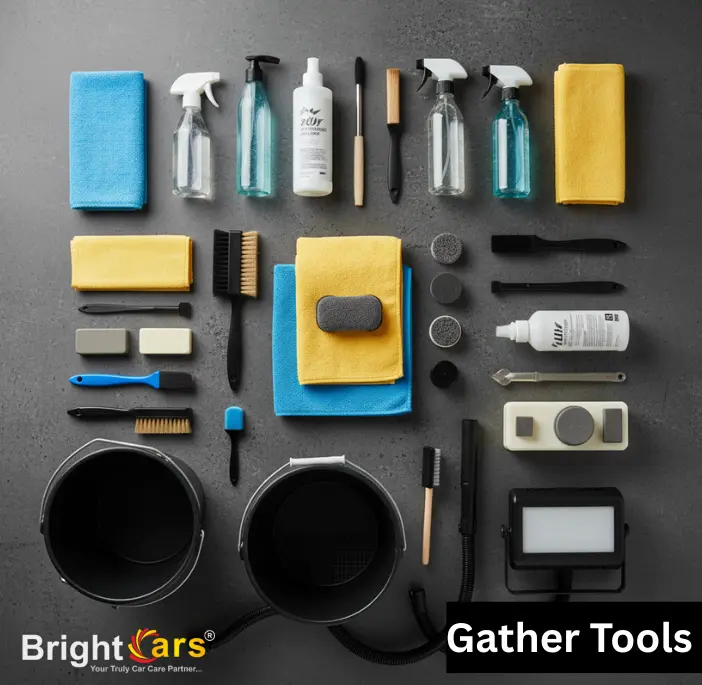
PPF should never be applied on scratched paint. Technicians check the entire car and perform: Swirl mark removal, Light scratch correction, Polishing for shine
Removes water and air bubbles from beneath the film.
Used for:
- Activating adhesive
- Stretching the film
- Fixing curves
- Sealing edges
Heat makes the PPF flexible and easier to mould.
Step 3: Using Pre-Cut or Manual Cut Film
There are two ways to prepare the PPF:
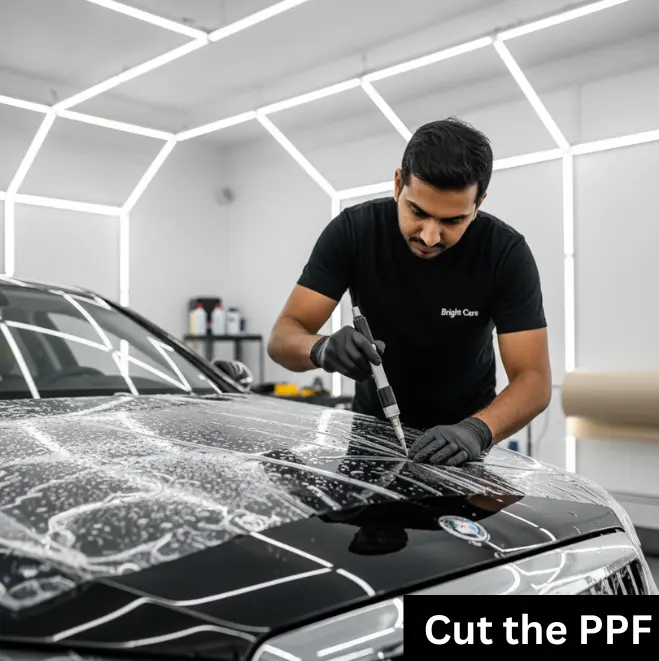
Cutting the Paint Protection Film (PPF) correctly is one of the most crucial parts of installation. Accurate cutting ensures the film fits perfectly, aligns with body curves, and provides a clean, factory-like finish without visible edges or gaps. Professional detailers use two standard methods:
Pre-Cut (Machine Cut) and Hand-Cut (Manual Cut).
1. Pre-Cut (Machine Cut)
Software-based cutting using a plotter ensures:
- Perfect fit
- Clean edges
- No risk of blade marks
2. Hand Cutting
Skilled installers manually cut film for custom areas.
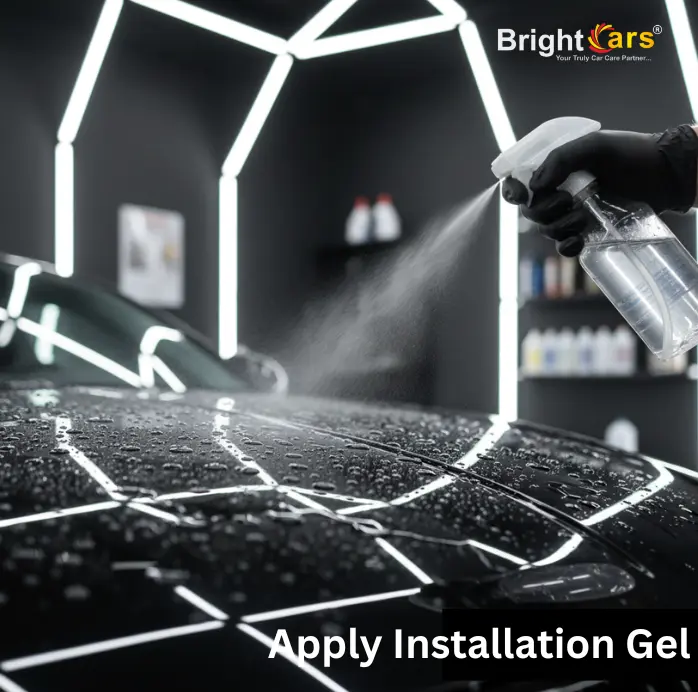
Step 4: Apply Installation Gel
Applying the Installation Gel, also known as Slip Solution, is one of the most important steps in Paint Protection Film (PPF) installation. This solution allows the film to glide smoothly over the car’s surface so the installer can position, stretch, and align it perfectly before locking it in place.
Installation Gel = Distilled Water + Baby Shampoo
(or a professional-grade PPF installation gel
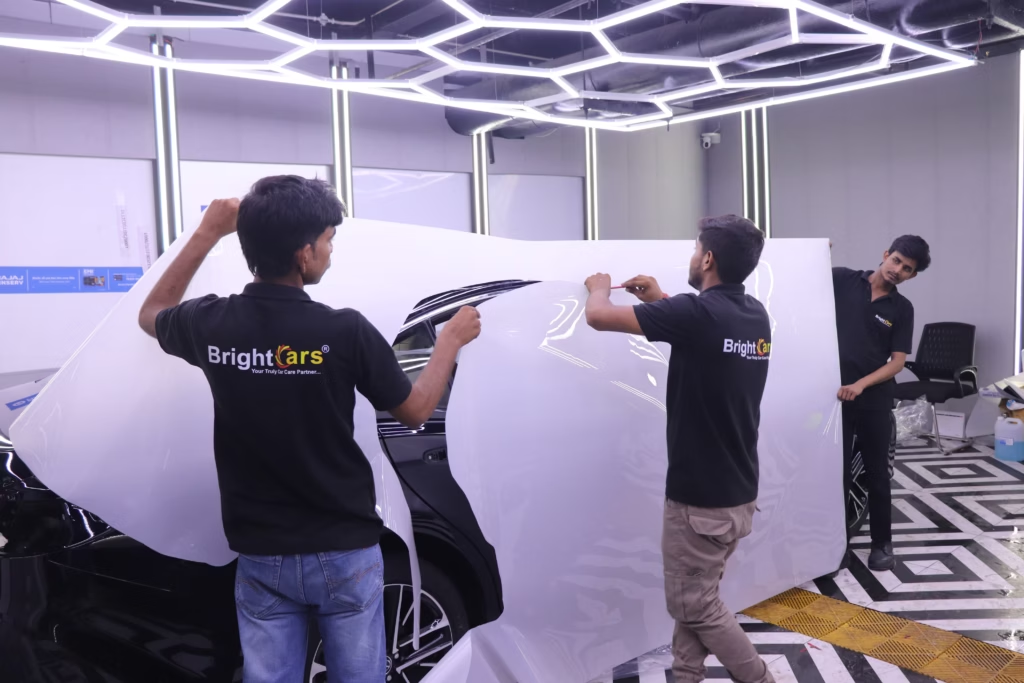
Step 5: Positioning the Paint Protection Film

Positioning the Paint Protection Film correctly is one of the most crucial steps in the installation process. A perfectly aligned film ensures the car gets a factory-finish look, with clean edges, proper wrap, and zero visible gaps.
This step requires skill, patience, and precise adjustments before the film is locked in place.
Placing the Film on the Panel
✔ Adjust alignment
✔ Center the film
✔ Stretch slightly if required
✔ Allows the film to be repositioned multiple times
✔ Helps align the edges perfectly
✔ Avoids premature sticking
✔ Prevents installation marks
✔ Reduces risk of creases
✔ Ensures a smooth, professional finish
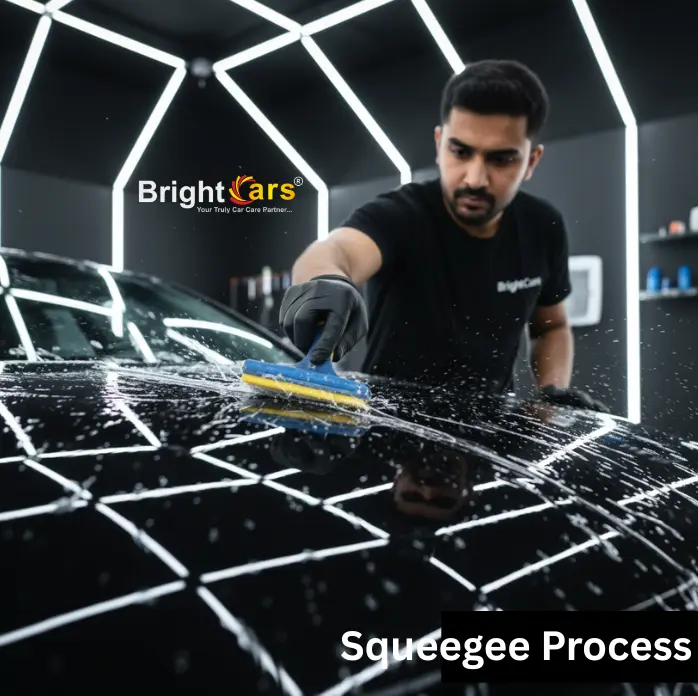
Step 6: Squeegee Process
Once the Paint Protection Film (PPF) is positioned correctly on the car’s panel, the squeegee process begins. This is one of the most crucial steps because it ensures that the film adheres smoothly to the surface without air pockets, wrinkles, or trapped moisture.
This step requires skill, patience, and precise adjustments before the film is locked in place.
Step 7: Corner, Curve & Edge Locking
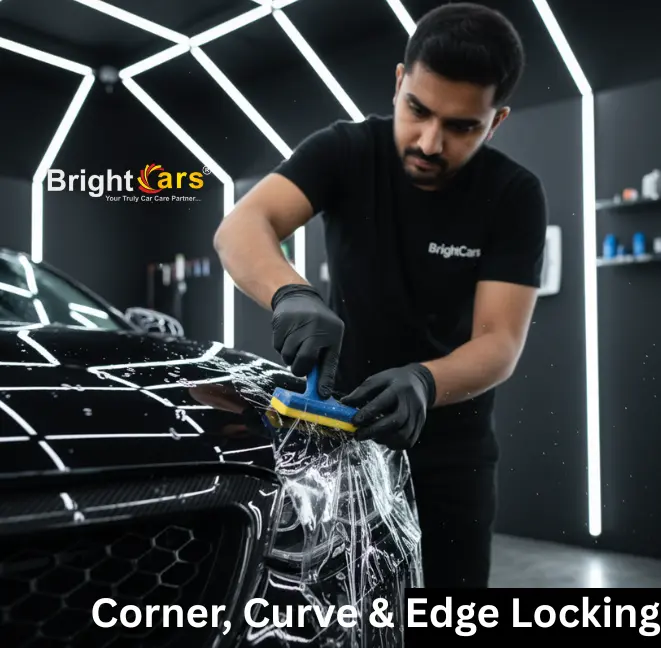
After the squeegee process is complete, the next crucial step in Paint Protection Film (PPF) installation is locking the corners, curves, and edges. This step ensures long-term durability and prevents the film from lifting, peeling, or collecting dust over time.
PPF, being a stretchable and heat-activated film, needs to be secured properly around the car’s complex areas—such as corners, curved surfaces, panel edges, door handles, bumpers, and headlight contours.
Edges are sealed using tack solution + heat gun.
✔ Wrap edges
✔ Lock curves
✔ Secure corners
✔ Prevent peeling
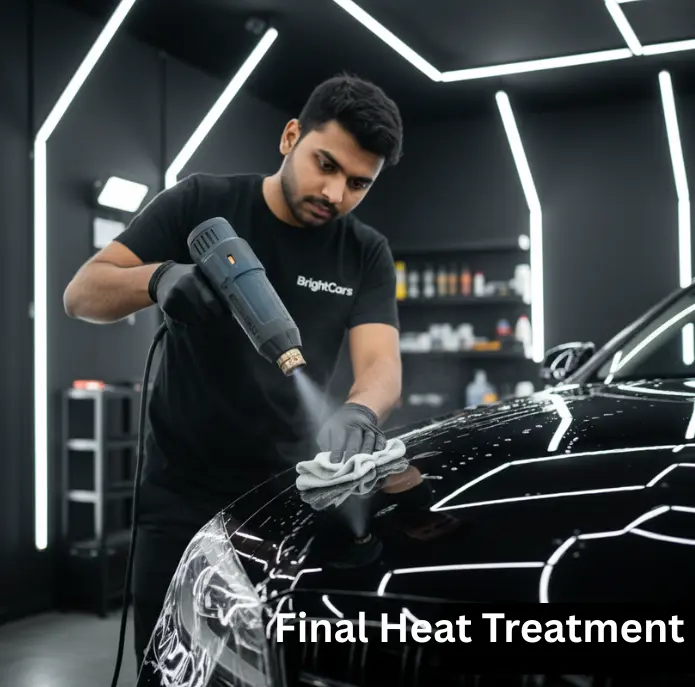
Step 8: Final Heat Treatment
Once the Paint Protection Film (PPF) is installed, positioned correctly, and all edges are locked, the final and most critical step is Final Heat Treatment. This step ensures the film fully bonds with the car’s paint, becomes stable, and remains durable for years.
Final Heat Treatment (also known as “Post-Heating”) is the process of applying controlled, uniform heat across the entire area where PPF has been installed—especially edges, corners, and curved sections.
Step 9: Curing Time (12–24 Hours)
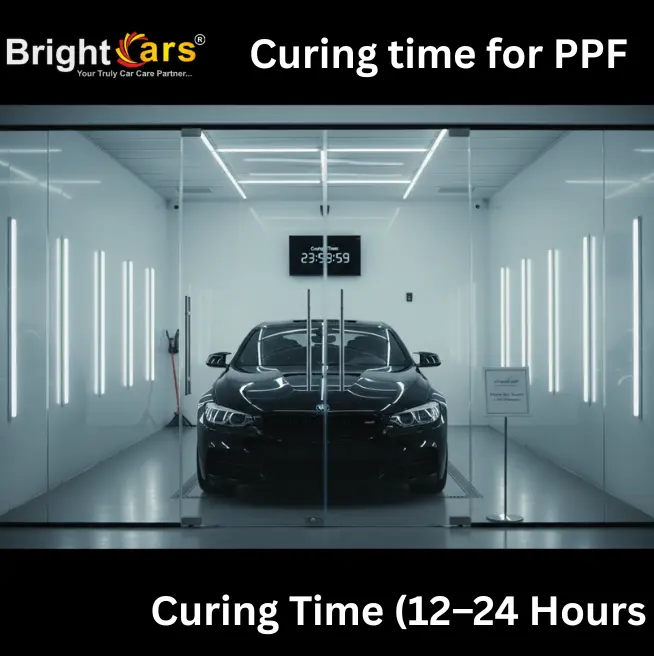
After the Paint Protection Film (PPF) installation is completed and final heat treatment is applied, the vehicle enters the curing stage—one of the most important phases for long-term durability and flawless results.
Curing Time refers to the period during which the PPF adhesive settles, bonds, and stabilizes fully on the car’s surface.
Although the film is installed, squeegeed, and heat-treated, it still needs 12–24 hours to rest undisturbed.
During this time:
Edges become firm and secure
The adhesive forms a strong bond with the paint
Moisture and installation gel evaporate naturally
The film gains clarity and transparency